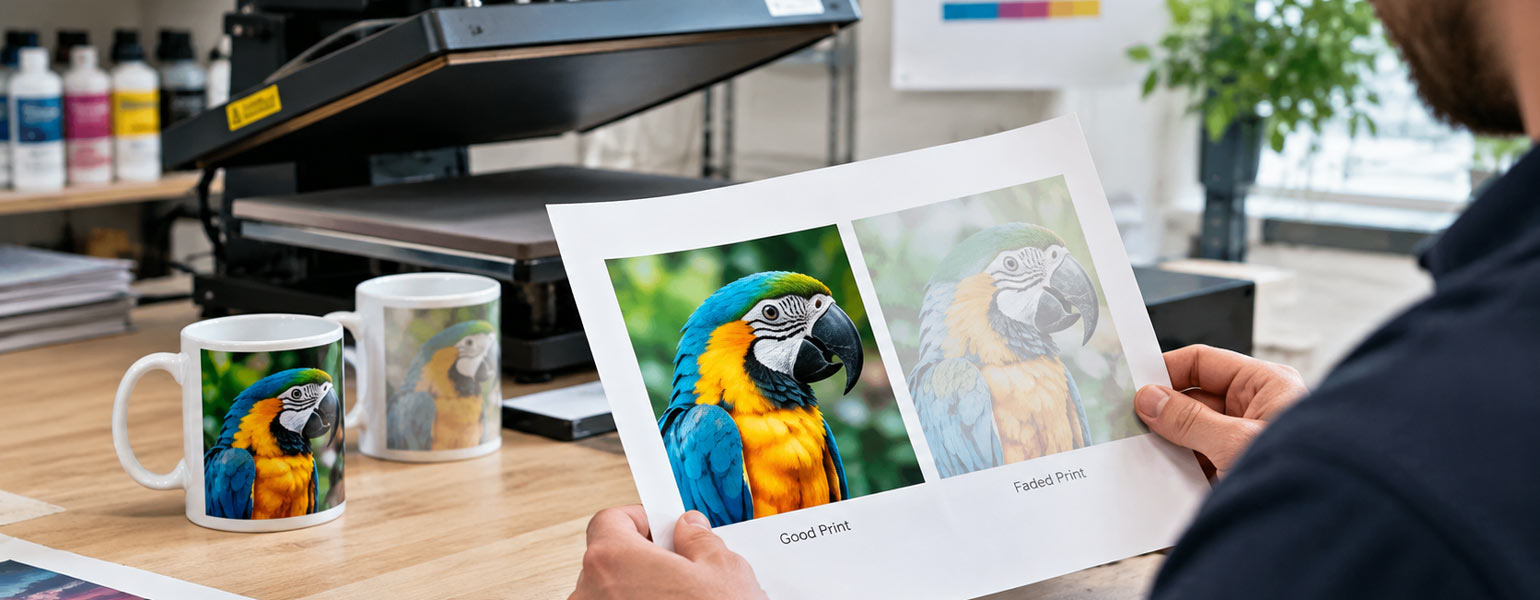
Have you ever pressed a sublimation mug, taken it out of the press, and immediately noticed something odd?
The centre looks great. The colours are strong, the details are sharp, and everything seems to have transferred properly. Then you look towards the bottom of the mug and realise the print is noticeably lighter.
So you try changing the pressure. No real improvement.
You increase the pressing time. Still not much difference.
Then you increase the temperature. Suddenly, the bottom looks much better — but now the colours in the rest of the design have started to shift, darken, or look slightly overcooked.
This is one of those sublimation problems that can be surprisingly frustrating because the obvious solution is not always the right one.
If the bottom of a sublimation mug is consistently lighter than the centre, the problem is often not simply that the mug needs “more heat”. In many cases, you are dealing with a cold spot: a particular area of the mug that does not reach or maintain the same effective temperature as the rest of the print.
And one of the biggest reasons for that can be the mug itself.
The mug base can act as a heat sink
This is probably the most useful thing to understand when troubleshooting a lighter mug base.
When a ceramic mug is placed in a mug press, heat is transferred from the heating element through the mug’s wall into the sublimation coating. Ideally, the whole printable area should reach a suitable temperature at roughly the same time.
In reality, it does not always happen that way.
The bottom of the mug contains a relatively large mass of ceramic. Depending on the mug’s shape and construction, the base can be considerably thicker than the side wall. That extra ceramic acts as a heat sink.
In simple terms, the thicker ceramic absorbs heat and pulls thermal energy away from the area around it.
Think about putting your hand on a thin ceramic tile and then on a thick ceramic block that has been sitting somewhere cold. The thicker object takes longer to warm up because there is simply more material to heat.
A mug base behaves in a similar way during sublimation.
The heating element may be delivering the correct temperature, but the heat does not necessarily reach every part of the mug’s coating equally quickly.
This creates a situation where the centre of the design can be hot enough for good dye transfer while the area closer to the base is still comparatively cool.
That is your cold spot.
Why the colour becomes lighter
Sublimation dye needs sufficient heat to change from a solid into a gas and then penetrate the polymer coating on the blank.
If part of the mug is significantly cooler, the sublimation process in that area can be less effective.
The result is often easy to recognise:
- The centre of the print looks rich and saturated.
- The lower section looks washed out.
- Solid colours may appear weaker near the base.
- Fine details can look less defined.
- The problem may occur repeatedly in almost the same area.
This is why simply increasing the press temperature can be misleading.
You may eventually get enough heat into the cold area, but you are also increasing the temperature experienced by the parts of the mug that were already transferring correctly.
That can create a new problem instead of solving the original one.
Why increasing pressure or pressing time may not fix it
This is where many people lose quite a bit of time.
If you notice a lighter area, it is natural to think that the paper is not making enough contact with the mug. So you increase the pressure.
But pressure and temperature are doing different jobs.
Increasing pressure can help when poor contact is the problem. It cannot magically make a thick section of ceramic heat up at the same rate as a thinner section.
The same applies to pressing time.
A longer dwell time gives the mug more opportunity to heat through, so it can sometimes improve a cold spot. But if the thermal difference is caused by the construction of the blank, simply adding more time can expose the rest of the print to excessive heat.
You might end up with a mug where the bottom is finally acceptable, but the centre has become too dark or the colours have shifted.
That is a classic sign that the problem is temperature distribution, rather than simply insufficient overall heat.
Not every lighter mug base is caused by the ceramic
The heat-sink effect is common, but it is not the only possible explanation.
When troubleshooting a mug, it helps to look at the whole pressing setup rather than immediately changing the temperature.
Here are some of the more common causes.
1. The heating element is not heating evenly
Your mug press might display a temperature of 190°C, but that does not necessarily mean every point around the heating element is actually at 190°C.
Heating elements can develop uneven temperature distribution over time.
A worn or poorly manufactured heating element may create a colder section around the lower part of the mug. The controller can still show the expected temperature because the sensor is measuring a different location.
This is particularly worth investigating if you notice that the same area is always lighter, regardless of which mug you use.
What to do
If possible, check the press with a suitable temperature measurement method rather than relying entirely on the controller display. Recommended tools include temperature strips or a thermal probe/thermocouple inserted between the heating element and the mug. An infrared thermometer can also be useful to spot-check surface temperature, though results may vary based on surface gloss. Having one or more of these tools on hand can help quickly identify uneven heating spots.
A temperature strip, thermal probe or other suitable testing method can help reveal whether there is a genuine temperature difference around the heating element.
Also check whether the heating element is ageing, damaged or beginning to lose contact with the mug.
If the cold area stays in the same position on every mug, the press itself becomes a much stronger suspect.
2. The mug is not sitting correctly in the press
This one sounds simple, but it is surprisingly easy to overlook.
The mug needs to sit in a position where the printable area receives consistent contact from the heating element.
If the mug is sitting too high, too low, or slightly angled, part of the design may not receive the same pressure and heat.
This can be particularly noticeable with mugs that have unusual shapes, large handles, tapered walls or a thicker base.
What to do
Before changing your temperature settings, check the physical position of the mug.
Look at where the design sits relative to the heating element.
If you normally position the artwork close to the bottom of the mug, try moving the design slightly higher on a test mug and see whether the lighter area moves with it.
That simple test can tell you a lot.
If the problem stays in the same physical location on the press, suspect the press.
If the problem moves with the bottom of the mug, suspect the mug’s construction or heat transfer.
3. The mug coating may not be consistent
Sublimation depends heavily on the quality and consistency of the coating.
A mug can look perfectly normal on the outside while the sublimation coating varies slightly in thickness or quality.
If the coating is inconsistent, one area may accept the dye differently from another even when the temperature is correct.
This is one reason why testing several mugs from the same batch can be useful.
If only one or two mugs show the problem, you may simply have a defective or inconsistent blank.
If every mug from the same batch shows the same lighter area, the batch itself deserves closer attention.
What to do
Take several mugs from the same box and press the same test design using identical settings.
Do not change temperature, pressure or time between tests.
If the result is consistently lighter in the same location, you have a repeatable process issue rather than a random mug defect.
4. The mug shape can affect heat transfer
Not all mugs are thermally identical.
A standard straight-sided 11oz mug is relatively predictable, but larger mugs, tapered mugs and mugs with unusual bases can behave differently.
The distance between the heating element and the ceramic surface matters. So does the thickness of the ceramic.
Even a small change in the shape of the mug can affect how efficiently heat moves from the element into the printable surface.
This is why a temperature setting that works beautifully on one type of mug may not produce the same result on another.
What to do
Use the manufacturer’s recommended settings as your starting point, but treat them as a starting point rather than an absolute rule for every blank.
When switching to a new mug style or supplier, run a few test presses before putting customer artwork through the machine.
It is much cheaper to discover a cold spot on a test mug than on a batch of finished products.
5. The transfer paper may not be making consistent contact
Sometimes the mug is hot enough, but the transfer itself is not sitting properly against the surface.
A small gap between the paper and coating can affect the transfer.
This can happen when the paper is not wrapped tightly enough, when the mug shape makes the paper difficult to secure, or when the tape is positioned poorly.
It can also happen if the paper shifts slightly during pressing.
What to do
Make sure the transfer is wrapped tightly around the mug and secured properly.
Use enough heat-resistant tape to prevent movement, but avoid creating unnecessary folds or layers.
After pressing, inspect the paper.
If you can see areas where the paper was not making good contact, that is a useful clue.
For consistent production, getting the transfer preparation right is just as important as getting the press settings right.
6. The bottom of the design may simply be too close to the cold zone
This is an easy one to miss.
Sometimes the mug itself is perfectly usable, and the press is working correctly, but your artwork extends too far towards the base.
If the lowest part of the design sits directly over a naturally cooler section of ceramic, you may see a lighter strip or patch there.
You can think of this as a problem of printable area versus thermal area.
The fact that a mug physically has space for a design does not necessarily mean every millimetre of that space receives identical heat.
What to do
Try moving your artwork slightly upwards and pressing the same design again.
If the lighter area disappears or becomes much less noticeable, you have probably identified a thermal limitation near the mug base.
For production work, leaving a small margin from the bottom can sometimes be a much better solution than trying to force the press to heat an area that naturally runs cooler.
A simple test can tell you where the problem is
Before changing several settings at once, I would recommend doing a controlled test.
Take one mug and use a design with several strong colours, including a solid black or another dark area.
Press it using your normal settings.
Then repeat the test while changing only one variable.
For example, you could slightly reposition the mug without changing anything else.
Or use another mug from the same batch.
Or move the artwork upwards.
The important part is not to change temperature, time, pressure and paper all at once.
Otherwise, you may get a better result without actually knowing why.
For a cold-spot problem, one particularly useful test is to press a design that extends from the centre towards the bottom of the mug.
If the colour gradually becomes weaker as it approaches the base, rather than suddenly becoming lighter in a random patch, that is a strong indication that you are dealing with a thermal gradient.
What about preheating the mug?
Preheating can help in some situations, but it needs to be used carefully.
The idea is straightforward: if the mug starts closer to the required temperature, there is less thermal energy needed to bring the ceramic up to the sublimation temperature.
This can be useful when the mug base is acting as a heat sink.
However, preheating is not a magic fix for an uneven heating element.
If your press has a genuine cold section, warming the entire mug beforehand may make the result better, but it does not correct the underlying temperature distribution.
There is also a practical consideration.
A mug that is already warm behaves differently when you place the transfer on it. You need to make sure your workflow remains consistent, particularly when producing multiple mugs.
If you decide to use preheating, test it properly and keep the process repeatable.
Don’t solve a cold spot by overheating the rest of the mug
This is probably the biggest lesson from this particular problem.
If the bottom of your mug is lighter, it can be tempting to increase the press temperature until that area finally looks right.
But imagine what is happening inside the press.
The base is slowly catching up while the centre has already been receiving sufficient heat.
By the time the coldest part looks perfect, the warmer areas may have spent too long at a higher temperature.
That can lead to:
- Colour shifts
- Darker-than-expected prints
- Loss of colour accuracy
- Overcooked transfers
- Changes in the appearance of certain colours
- Inconsistent results between different mug designs
So if increasing temperature fixes one area but creates another problem elsewhere, don’t simply keep pushing the temperature higher.
That is a useful diagnostic clue.
It suggests that the mug is not heating evenly.
A practical troubleshooting order
When I come across a lighter mug base, I would work through the problem in roughly this order:
Check the mug position
Make sure the printable area is sitting correctly inside the heating element.
Test another mug
Use another blank from the same batch.
If the result changes dramatically, the mug itself may be the issue.
Move the artwork upwards
This is one of the quickest ways to see whether the lower part of the mug is acting as a cold zone.
Check transfer contact
Make sure the paper is wrapped tightly and evenly against the coating.
Check the press
If the same physical area is always cooler, investigate the heating element and temperature distribution.
Only then adjust your settings
Once you understand where the problem is coming from, make small changes to time, temperature or pressure rather than making large changes blindly.
That approach usually saves a lot of wasted mugs.
A small adjustment can be better than a bigger temperature change
One thing I’ve found particularly useful with sublimation is resisting the urge to chase the “perfect number” on the temperature display.
A press might say 190°C, but what matters to your print is the temperature actually reaching the coating.
The mug, heating element, paper, pressure and surrounding environment all affect that.
If your standard setting produces a good centre but a slightly weak base, a small process adjustment may be enough.
You might find that positioning the mug slightly differently, leaving a little more margin at the bottom of the artwork, using a more suitable blank or improving contact gives you a much more consistent result than simply increasing the temperature.
That’s the difference between treating the symptom and finding the cause.
When the problem follows the mug, and when it follows the press
There is a very simple way to think about the diagnosis.
If the lighter area always appears at the bottom of the mug, even when you change the press position or use different heating elements, the mug’s shape, thickness or coating could be responsible.
If the lighter area always appears in the same physical position inside the press, even when you rotate or reposition the mug, the press becomes the more likely culprit.
If the result changes when you move the artwork upwards, you are probably dealing with a thermal limitation near the base.
And if the problem appears randomly across different areas, look more closely at transfer contact, coating consistency, paper movement and other process variables.
This kind of simple elimination is much more useful than changing five settings at once.
Getting consistent results starts with the blank
A good mug press certainly matters, but the blank itself is just as important.
For anyone producing sublimation mugs regularly, it is worth paying attention to how consistently different blanks behave. Two mugs can look almost identical but respond differently during pressing because of differences in ceramic thickness, shape and coating.
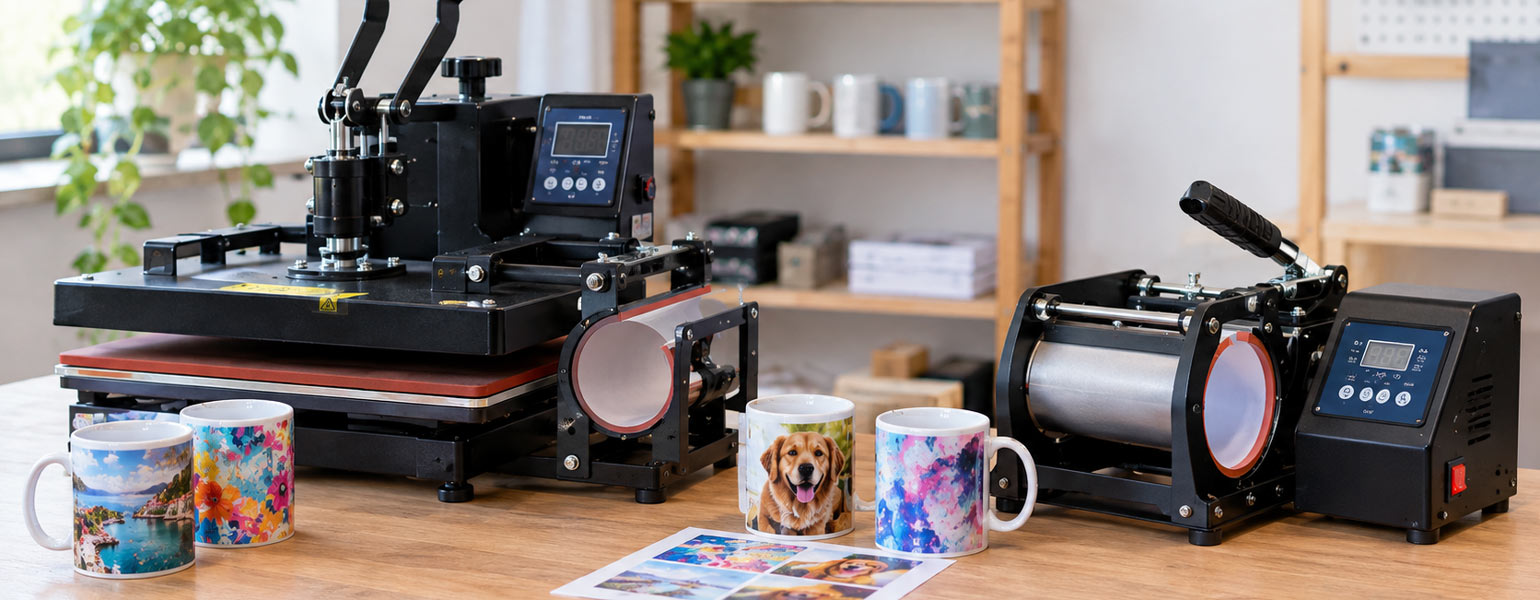
At Signzworld, you can find a range of sublimation mugs and mug blanks, as well as mug presses and other sublimation equipment. If you’re regularly producing mugs, using consistent blanks and a reliable press is a good starting point for keeping those frustrating cold spots under control.