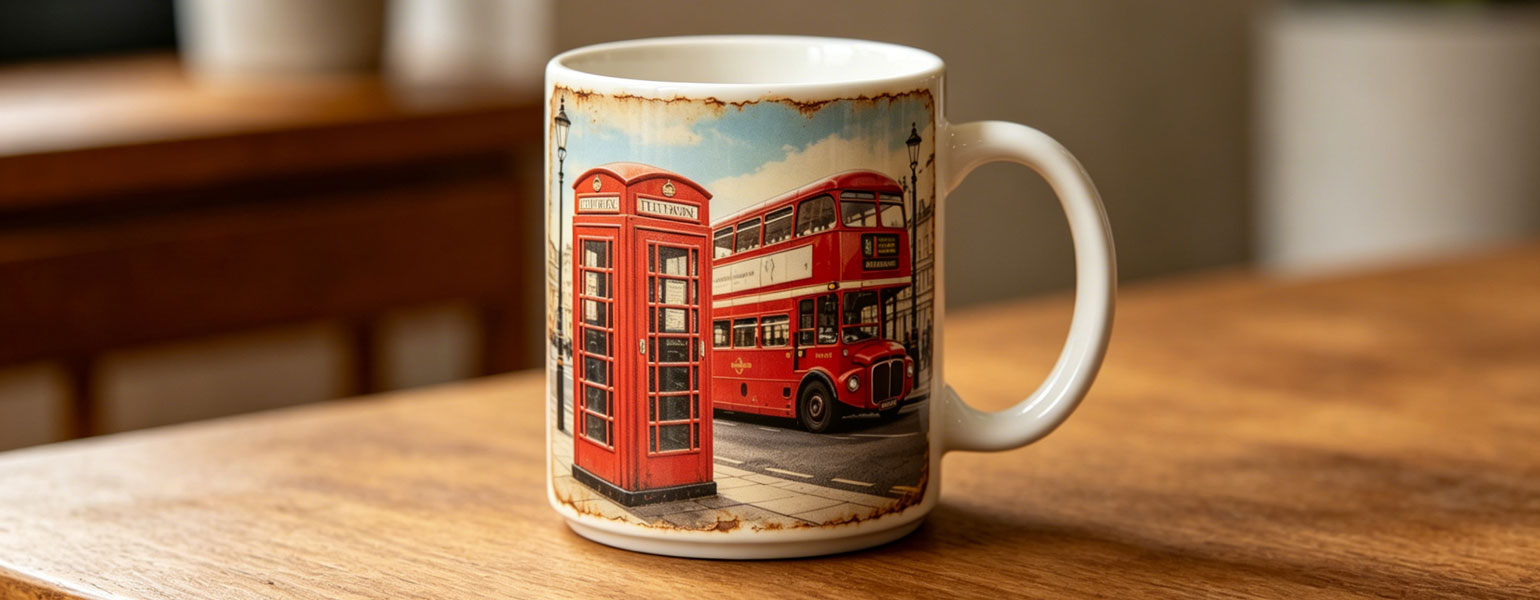
Sublimation is more than a simple printing method; it’s a gateway to turning ordinary items into personalized masterpieces. Regarding water bottles, sublimation offers a fantastic opportunity to create unique, durable designs that reflect your style. Whether you’re looking to customize your hydration gear or start a small business, this guide will equip you with the knowledge to transform water bottles confidently using sublimation techniques.
How to Sublimate on Stainless Steel
When selecting sublimation water bottles, the material choice is crucial. Stainless steel is the preferred material for several reasons. It provides a sleek, polished look and durability that other materials, like aluminum or plastic, can’t match. Stainless steel bottles are resistant to cracking, warping, or shattering, ensuring that your designs remain vibrant and intact over time. Moreover, the smooth surface of stainless steel allows for better adherence of sublimation inks, resulting in high-quality image transfers that stand the test of time.
Coating Considerations
A key factor in successful sublimation is the coating on the water bottle. The coating allows the sublimation ink to bond effectively with the bottle’s surface during the heat press. Look for bottles labeled as ‘sublimation blanks,’ as these are specifically designed with a coating that absorbs sublimation inks perfectly. A smooth, even coating without irregularities is essential for achieving crisp, clear designs. This step is vital in ensuring your final product looks great and lasts longer, withstanding regular use and washing.
Essential Supplies for Sublimating Water Bottles
- Sublimation Paper: Specially coated paper that holds sublimation ink until it’s transferred to the bottle.
- Thermal Tape: This tape secures the sublimation paper to the bottle, ensuring that the design stays in place during the heat press process.
- Heat-Resistant Gloves: Essential for handling hot items straight out of the press.
- Protective Paper: Used to shield your heat press from excess ink and prevent any potential mess.
- High-Quality Sublimation Inks and Printer: Use a purpose-built sublimation printer and high-quality inks to ensure vibrant, detailed images for the best results.
Step-by-Step Guide to Sublimation Printing on Water Bottles
Preparing the Design
Begin by printing your design on sublimation paper. Ensure the image is mirrored, which will maintain the correct orientation once transferred. Carefully wrap the printed paper around the water bottle, ensuring it conforms closely to its shape. Use thermal tape to secure the paper at the top and bottom edges. Avoid wrinkles or bubbles, leading to uneven transfers and flawed results.
Heat Press Process
Adjust your heat press to the correct temperature, typically between 360°F and 400°F, and apply the recommended pressure. Press the water bottle for 60 to 120 seconds, depending on the equipment and materials used. After pressing, allow the water bottle to cool completely before removing the transfer paper and tape. This step is essential to avoid smearing or ghosting in your design.
Post-Pressing Procedures
Once the sublimation bottle has cooled enough to handle, carefully peel away the transfer paper and tape to reveal your design. Inspect the final product for any imperfections. If the image quality meets your expectations, you’re ready to enjoy your new custom water bottle. If not, consider troubleshooting common issues like ghosting or light areas.