A few months ago, I spoke with a custom printing shop owner who had just landed what felt like a breakthrough order.
Nothing huge by industry standards, but big enough to matter.
A local sports organisation needed dozens of custom sublimation T-shirts for an upcoming event. The artwork had been approved. The garments had arrived. The customer wanted a quick turnaround.
Everything seemed ready.
Feeling confident, the team printed the entire stack of transfer sheets before pressing a single shirt.
Then the first finished garment came off the heat press.
The logo colour was noticeably darker than expected.
The sponsor text sat slightly higher than it should have.
A few details looked softer than they had on screen.
Unfortunately, by that point, all the transfer paper had already been printed.
What should have been a straightforward production run suddenly became a stressful afternoon filled with reprints, wasted materials, and awkward customer conversations.
The frustrating part was that nothing was fundamentally wrong with the order.
The artwork was fine.
The printer was working.
The heat press was functioning normally.
The problem was much simpler.
Nobody had properly tested the workflow before committing to production.
And that is exactly why test printing matters.
Why Test Printing Becomes More Important as Your Business Grows
When you’re producing one personalised mug for a friend, mistakes are annoying.
When you’re producing fifty mugs for a company event, mistakes become expensive.
As sublimation businesses grow, most owners eventually discover that larger orders introduce entirely new challenges.
A colour shift that affects one item can affect one hundred.
A positioning mistake that looks minor on a single product suddenly becomes a major issue when repeated across an entire batch.
The same applies to incorrect temperature settings, pressure variations, printer profile errors, and template mistakes.
What makes these situations particularly frustrating is that most of them are completely preventable.
That is where test printing earns its place.
The goal isn’t simply to see whether the image transfers.
The goal is to identify potential problems while the cost of fixing them is still small.
The Problem With Most Test Print Tutorials
If you’ve watched sublimation videos online, you’ve probably heard the same advice countless times:
“Always do a test print before production.”
That advice is absolutely correct.
The problem is that many tutorials stop there.
They rarely explain what you’re actually supposed to test.
Are you checking colour?
Placement?
Heat settings?
Image sharpness?
Product quality?
The answer is all of the above.
And rather than speaking in general terms, let’s look at the two products that dominate the sublimation industry: T-shirts and mugs.
Almost every sublimation business produces them.
Almost every sublimation business has wasted materials on them at some point.
And both require slightly different testing approaches.
Before Testing Anything, Check Your Setup
Before a single sheet comes out of the printer, there are a few things worth checking.
Experienced production teams know that many printing problems actually begin long before the heat press is switched on.
Verify Your Artwork
Start by reviewing:
- Design dimensions
- Resolution
- Customer-approved artwork
- Colour settings
- Export settings
It sounds basic, but many production issues can be traced back to outdated files or incorrect design versions.
Always make sure you’re working from the final approved artwork.
Check Your Printer
A nozzle check takes only a few minutes.
Skipping it can cost hours.
Before large orders, confirm:
- No clogged nozzles
- Adequate ink levels
- Correct media settings
- Correct ICC profile
A printer that behaved perfectly yesterday may not behave perfectly today.
Inspect Your Blank Products
Many people focus entirely on the printing side and forget about the products themselves.
Check garments for defects.
Check mugs for coating issues.
Count inventory quantities.
It is far better to discover a product problem before production begins.
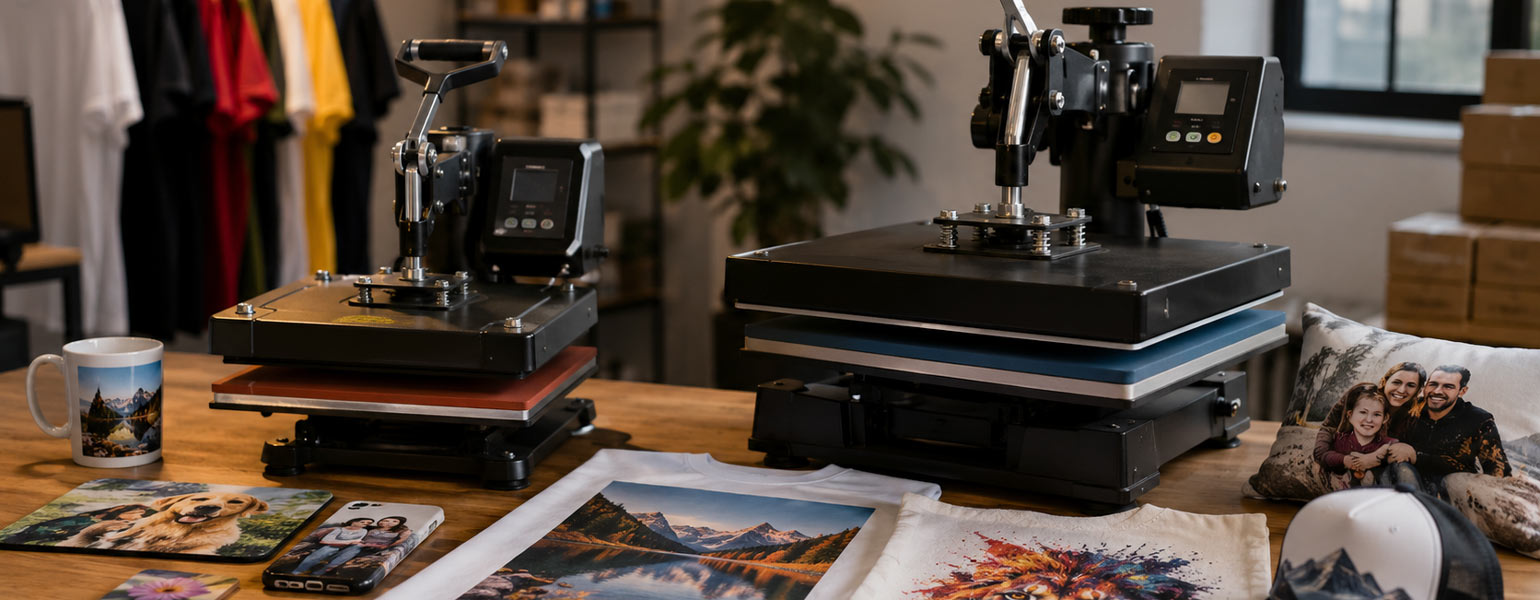
Let’s Start With T-Shirts
For many businesses, sublimation T-shirts are the first product that moves from occasional orders into genuine volume production.
They’re also one of the easiest products to waste if testing is rushed.
Before You Print Fifty Shirts, Print One
This sounds obvious.
Yet countless businesses skip this step when deadlines start looming.
The temptation is understandable.
The order is approved.
The artwork looks perfect on screen.
Everything appears ready.
Why not print all the transfers at once?
Because screens lie.
Printers behave differently.
Heat presses introduce variables.
And fabrics can produce surprises.
Always begin with a single transfer.
Not twenty.
Not fifty.
One.
If something goes wrong, you’ve only lost one sheet of paper instead of an entire stack.
Examine the Transfer Before Pressing
Most people focus exclusively on the finished garment.
The transfer itself often reveals problems much earlier.
Look closely for:
- Missing lines
- Ink streaks
- Banding
- Uneven colours
- Unexpected colour shifts
If something looks questionable on paper, it will almost certainly look worse after pressing.
Use an Actual Production Garment
One of the most common beginner mistakes is testing on a random spare shirt.
The logic seems sensible.
Why risk a production garment?
The problem is that different fabrics can produce different results.
If the order will be printed on a specific shirt, test on that same shirt.
Your sample should replicate production conditions as closely as possible.
Evaluate Placement Carefully
Many positioning problems aren’t obvious until you step back and look at the finished product.
Ask yourself:
- Is the design centred?
- Is the distance from the collar consistent?
- Does the size feel appropriate?
- Will it look right across different garment sizes?
This is where measurement tools become valuable.
Eyeballing placement might work most of the time.
Production work demands consistency.
Check the Small Details
Large graphics tend to hide problems.
Small details expose them.
Pay special attention to:
- Fine lines
- Small text
- Gradients
- Detailed logos
If these areas look good, the rest of the design usually follows.
Don’t Judge the Shirt Too Quickly
Freshly pressed garments can be deceptive.
Allow the shirt to cool before making final decisions.
Many experienced operators develop the habit of examining the sample again several minutes later.
That brief pause often reveals issues that weren’t immediately obvious.
Now Let’s Talk About Mugs
Mugs create a completely different set of challenges.
At first glance, mug printing seems simpler than garment printing.
In reality, curved surfaces introduce their own complications.
A design that appears perfectly centred on a computer screen can look completely different once wrapped around a mug.
That is why mug testing deserves its own process.
Print a Single Transfer First
Just like T-shirts, resist the urge to print the entire batch.
One transfer.
One mug.
One test.
The principle remains the same.
Keep potential waste as small as possible.
Check Your Template Alignment
This is where many mug problems begin.
Before attaching the transfer, verify:
- Overall design width
- Distance from the handle
- Top margin
- Bottom margin
- Wrap alignment
Mug designs often look fantastic in design software and awkward in real life.
Testing helps catch those surprises.
Secure Everything Properly
Ghosting remains one of the most common mug-printing frustrations.
A tiny amount of movement during pressing can create blurry shadows around text and graphics.
Take a few extra seconds to secure the transfer properly.
Those few seconds can save an entire production run.
Evaluate the Entire Mug
Many people inspect only the front-facing section.
Customers don’t.
Customers pick up mugs, rotate them, and examine them from every angle.
Do the same.
Check:
- Colour consistency
- Handle positioning
- Edge quality
- Sharpness
- Overall presentation
The areas near the handle often reveal problems first.
Allow Proper Cooling Time
A hot mug rarely tells the full story.
Give it time to cool completely before making final judgments.
Patience during testing prevents expensive assumptions during production.
The Mistakes That Ruin Most Production Runs
After speaking with print shop owners over the years, certain mistakes appear again and again.
Printing Everything Before Testing
This is probably the most expensive mistake on the list.
People try to save time.
Instead, they create far more work.
Trusting the Monitor Too Much
The design on your screen is not the finished product.
Always trust the physical sample more than the digital preview.
Changing Multiple Settings Simultaneously
When something goes wrong, beginners often start adjusting everything.
Temperature.
Pressure.
Colour settings.
Print quality.
This makes troubleshooting much harder.
Change one variable at a time.
Using Different Products for Testing
Testing should mimic production.
The closer your sample matches the final product, the more useful the results become.
Skipping a Second Look
Sometimes a sample appears acceptable at first glance.
Five minutes later, a problem becomes obvious.
A second inspection is never wasted time.
Build a Testing Routine Instead of Relying on Memory
One lesson that every growing sublimation business eventually learns is that memory is unreliable.
Good systems outperform good intentions.
Create a simple pre-production checklist covering:
Artwork
- Approved file
- Correct dimensions
- Correct colours
Printer
- Nozzle check completed
- Correct profile selected
- Ink levels verified
Heat Press
- Temperature verified
- Time verified
- Pressure verified
Product
- Correct blanks
- No visible defects
- Production quantity confirmed
Sample Approval
- Colour approved
- Placement approved
- Quality approved
Once the checklist becomes routine, production becomes dramatically more predictable.
The Best Time to Find a Problem
Most expensive production mistakes have one thing in common.
Someone was trying to save a few minutes.
The test print felt unnecessary.
The order looked simple.
The settings worked yesterday.
Everything seemed fine.
Then production started.
Ironically, skipping a five-minute test often creates hours of rework.
A single sample T-shirt or mug may feel like an extra step when you’re busy, but compared with reprinting an entire order, it is probably the cheapest insurance policy your business will ever have.
As order volumes increase, successful sublimation businesses don’t rely on luck or assumptions. They rely on repeatable processes. A structured testing routine, combined with reliable printers, heat presses, transfer paper, and production equipment from Signzworld, can help turn test printing from an occasional precaution into a dependable part of every successful production run.