On a typical morning in a small UK print shop, the kettle’s just boiled, the press is warming up, and a stack of blank mugs or T-shirts is waiting on the bench. Everything feels routine—until the first transfer comes off the press and something looks off. The colours have spread slightly, edges aren’t crisp, and the design feels “soft.”
If that sounds familiar, you’re looking at one of the most common issues in dye sublimation: bleeding.
This article breaks it down in a practical, no-nonsense way—what it is, why it happens, how to fix it if it’s already occurred, and most importantly, how to prevent it in day-to-day production.
What sublimation bleeding actually is
In Dye Sublimation Printing, ink turns into a gas under heat and pressure, then bonds with a polyester coating or fabric. When everything is dialled in correctly, the result is sharp, vibrant, and permanent.
Bleeding happens when that process goes too far.
Instead of the ink settling exactly where it should, it spreads beyond its intended boundaries, leading to:
- Blurred edges
- Slight halos around text or graphics
- Loss of fine detail
- Colours looking muddy or overly soft
It’s important to be clear here:
→ Sublimation always involves ink “penetrating” the material.
→ Bleeding is when that penetration becomes uncontrolled diffusion.
What it looks like in real production
Bleeding isn’t always dramatic. In many UK workshops, especially those producing mugs, tumblers, and workwear, it often shows up subtly:
- Text that isn’t crisp
- Dark colours creeping into lighter areas
- Fine lines thickening or merging
- Edges that look slightly fuzzy instead of sharp
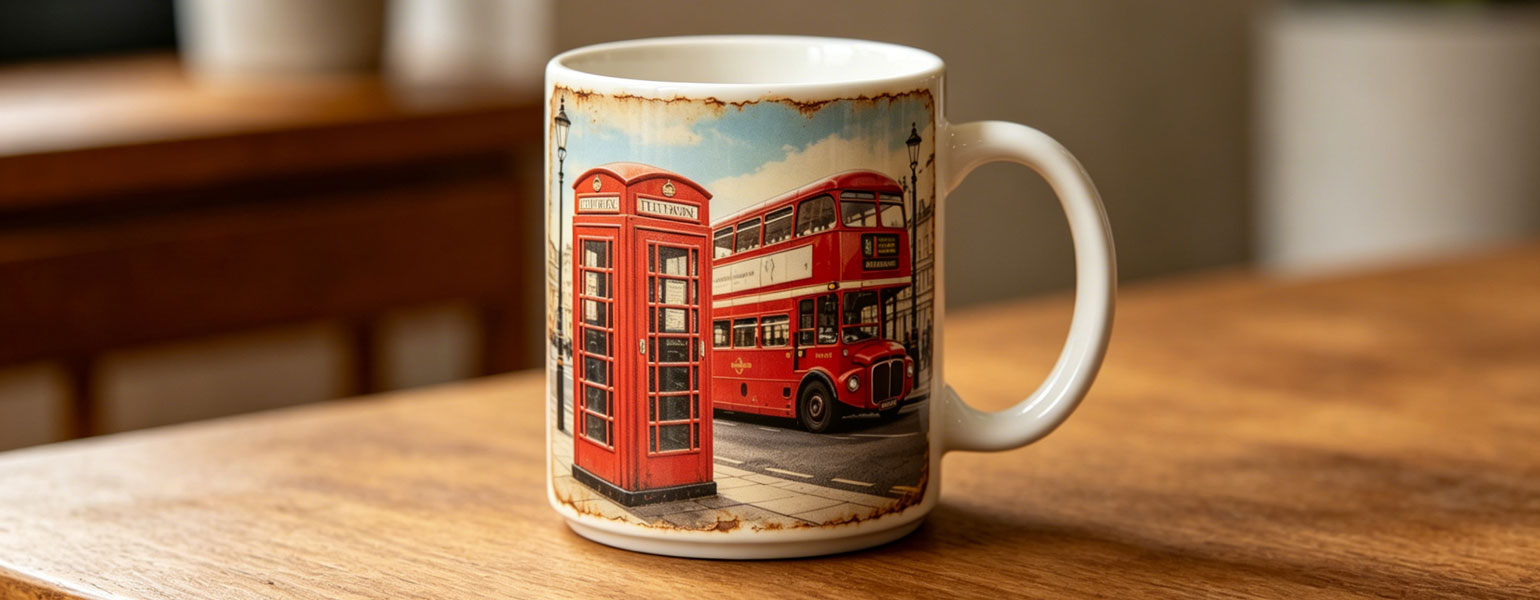
On hard substrates like mugs or aluminium panels, it’s usually easier to spot. On fabric, especially light polyester garments, it can sometimes be mistaken for “normal softness”—until you compare it with a clean print.
Is this common?
Very much so—and it’s not a sign you’re doing everything wrong.
In fact, for newcomers to sublimation in the UK market, bleeding is almost a rite of passage. Why?
- You’re often working with generic starting settings
- Equipment varies
- Materials differ between suppliers
- The UK climate can affect consistency
Even experienced operators run into it when switching:
- Paper brands
- Ink systems
- New batches of blanks
So if you’re seeing it occasionally, you’re not alone—and it’s fixable.
The main causes of sublimation bleeding
Bleeding rarely comes from a single issue. It’s usually a combination of variables being slightly off.
1. Temperature too high
This is the most common cause.
When the temperature is higher than needed:
- Ink turns into gas too aggressively
- It keeps moving after bonding
- Result: colour spreads beyond edges
Typical UK setups:
Many presses operate at around 180–200°C, but even a 5–10°C difference can be significant, depending on the blank.
2. Press time too long
Even at the right temperature, leaving the transfer too long can cause:
- Continued ink migration
- Over-saturation of the coating
A mug that should press for 180 seconds might start bleeding at 210 seconds.
3. Excessive pressure
Too much pressure can:
- Physically push ink outward
- Distort the transfer slightly
- Causes uneven ink distribution
This is especially noticeable on:
- Mugs
- Tumblers
- Coated metal sheets
4. Low-quality or inconsistent blanks
Not all sublimation blanks are created equal.
If the coating:
- Absorbs unevenly
- Is too porous
- Or poorly cured
…then ink won’t “lock” cleanly in place.
This is one of the biggest hidden causes in the UK market, where cheaper imports can vary batch-to-batch.
5. Sublimation paper issues
Paper controls how ink is released.
Problems include:
- Too much ink is released at once
- Uneven transfer
- Poor drying before pressing
This leads to uncontrolled ink spread during printing.
6. Ink quality and compatibility
Different inks behave differently under heat.
Low-quality or mismatched inks can:
- Gasify unpredictably
- Spread more than expected
- Reduce edge sharpness
7. Moisture (often overlooked in the UK)
UK workshops often deal with:
- Damp air
- Cold storage areas
Moisture in paper or blanks can cause:
- Steam during pressing
- Ink displacement
- Blurred edges
Can you fix a print that’s already bleeding?
Short answer: usually not fully, but sometimes partially.
Once sublimation ink has bonded, it’s permanent. However:
What you can do:
- Repress lightly to even out colour (may reduce visible unevenness)
- Use the item as a B-grade product
- Adjust the design to tolerate a slight spread
What you can’t do:
- Restore sharp edges
- “Pull back” the ink
That’s why prevention is far more important than correction.
Practical ways to prevent bleeding
Here’s what experienced UK operators tend to rely on in real workflows:
1. Dial in your temperature first
- Start with manufacturer recommendations
- Then reduce slightly if you see bleeding
- Test in small increments (5°C steps)
2. Reduce press time gradually
- If edges look soft → cut 5–10 seconds
- Keep notes for each product type
3. Use medium, even pressure
- Avoid “maximum الضغط” thinking
- Ensure full contact, but don’t over-tighten
4. Pre-press to remove moisture
Especially important in UK conditions:
- Pre-press fabric for 5–10 seconds
- Warm hard substrates slightly
This removes hidden moisture that causes ink movement.
5. Let prints dry properly
Before pressing:
- Ensure the ink is fully dry on the paper
- Avoid stacking fresh prints
6. Choose reliable blanks
Consistent coating = consistent results.
Look for:
- Even gloss
- Good reputation
- Stable batches
7. Use quality sublimation paper
A good paper should:
- Release ink cleanly
- Control ink flow
- Maintain sharp detail
8. Keep your workflow consistent
Small changes cause big differences:
- Same press settings
- Same placement
- Same timing routine
Consistency reduces unexpected bleeding.
A note on materials and suppliers
In practice, many bleeding issues observed in UK workshops are due to inconsistent materials, not just settings.
Working with dependable supplies—whether that’s blanks, paper, or ink—makes a noticeable difference in:
- Edge sharpness
- Colour control
- Repeatability
This is where established suppliers like Signzworld stand out. Their sublimation blanks and consumables are designed for consistent coating performance, reducing variables—especially useful for small businesses scaling production without constant troubleshooting.
Making your results more predictable
If you take one thing from this:
→ Bleeding isn’t random—it’s predictable once you control your variables.
A simple routine can make a big difference:
- Fix your temperature range
- Standardise press time
- Use consistent materials
- Test before full production
Over time, you’ll build your own “known good settings” for each product.
Practical takeaways you can use today
- If prints look soft → lower temp or time first
- If colours spread → check pressure and paper
- If results vary → look at material consistency
- If working in a cold/damp space → pre-press everything
And most importantly:
→ Don’t chase perfection in one go.
→ Adjust one variable at a time.
Getting clean, sharp sublimation results isn’t about luck—it’s about control. Once you understand how and why bleeding occurs, it becomes much easier to prevent, and your production becomes faster, more consistent, and less frustrating.