


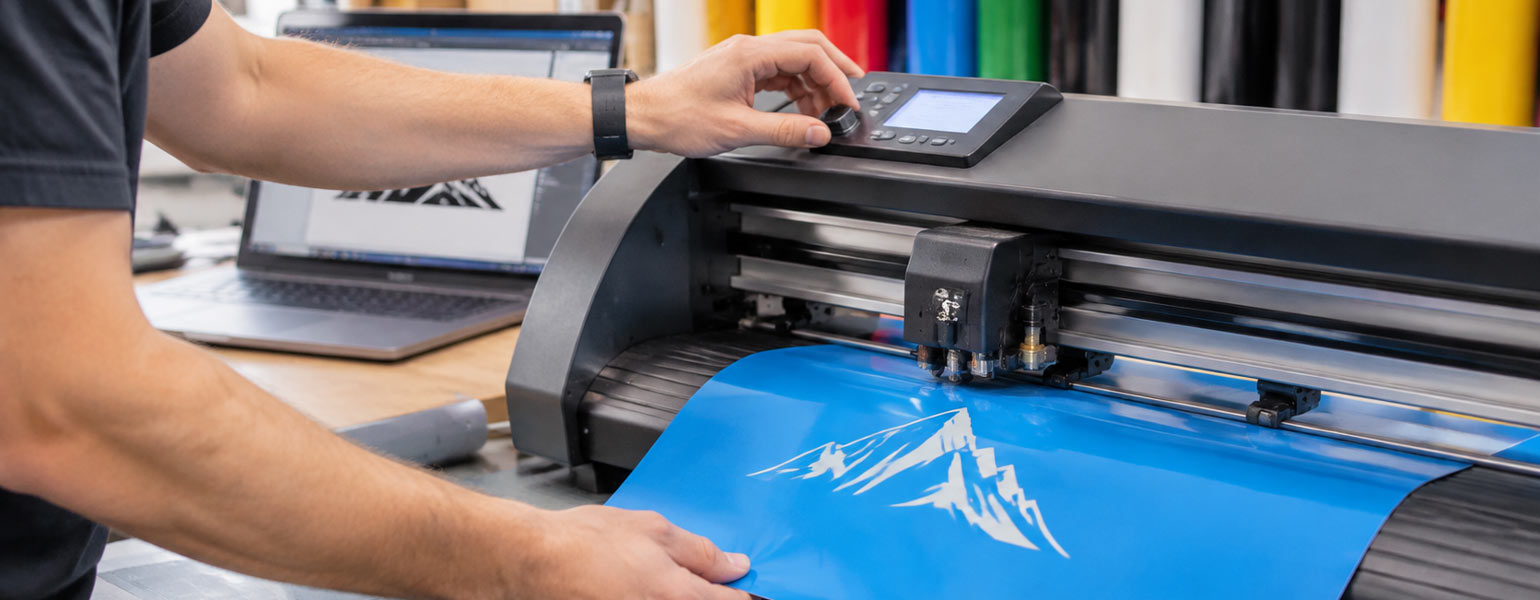
A cutter plotter can handle a surprising range of materials, from everyday adhesive vinyl to heat transfer film and specialist reflective media. However, what works well for one material won’t necessarily work for another.
This catches out many people new to vinyl cutting. They might switch from standard vinyl to a thicker material, make only a small adjustment and wonder why the finished design looks untidy. Some even assume the machine is faulty and start considering a replacement, when the real issue is often much simpler: the cutting settings are not suited to the material.
Understanding how different materials behave under the blade makes a considerable difference. It can help reduce wasted vinyl, avoid unnecessary adjustments and produce more consistent results.
Why Different Materials Need Different Cutting Settings
The thickness of a material is only part of the story. Its density, surface structure and backing also influence how the blade cuts through it.
Take adhesive vinyl and heat transfer vinyl as an example. Both are commonly used for lettering and decorative designs, but their construction is different.
Adhesive vinyl usually consists of a coloured film, an adhesive layer and a release liner. The aim is to cut through the film and adhesive without damaging the backing paper. This is known as a kiss cut.
Heat transfer vinyl has a similar layered construction, but uses a carrier sheet instead of a conventional release liner. This sheet needs to remain intact so the design can be lifted and positioned before heat application.
Specialist materials introduce further challenges. Glitter and flock HTV are generally thicker than standard heat transfer film, while reflective vinyl may contain additional layers or structures that affect how easily it cuts.
For this reason, there is no single cutter plotter setting that works perfectly for every material. Even products within the same category can behave differently depending on their manufacturer and construction.
Cutting Different Types of Vinyl
Vinyl is one of the most common materials used with a cutter plotter, but the differences between individual types can have a noticeable effect on cutting performance.
Adhesive Vinyl
Adhesive vinyl is widely used for signs, window graphics, labels, vehicle lettering and decorative applications. It is generally straightforward to cut, making it a popular starting point for anyone learning to use a vinyl cutter.
The main objective is to produce a clean kiss cut. The blade should cut through the vinyl film and adhesive while leaving the release liner untouched.
If the blade cuts too deeply, the backing paper may become damaged. This makes weeding more difficult and can cause problems when transferring the design. Insufficient blade depth or pressure, on the other hand, may leave parts of the design attached to the surrounding material.
Standard adhesive vinyl is commonly cut with a 45-degree blade. Only a small amount of the tip should extend beyond the blade holder, with the cutting pressure adjusted just enough to separate the vinyl cleanly.
For simple lettering and larger shapes, a moderate cutting speed is usually sufficient. Intricate designs with small text or sharp corners often benefit from a slower setting, giving the blade more control over the cutting path.
Standard Heat Transfer Vinyl
Standard heat transfer vinyl is used for decorating T-shirts, hoodies, bags, sportswear and other fabric products. Although it is also supplied in rolls, its cutting requirements differ from adhesive vinyl.
Most standard HTV is cut with the carrier side facing down, and the design needs to be mirrored before cutting. This is particularly important for lettering and logos. Forgetting to mirror a design is an easy mistake when switching between different vinyl applications.
The blade needs to cut through the film and adhesive layer without cutting through the carrier sheet. Both blade depth and cutting pressure should be adjusted according to the material’s thickness and construction. Standard PU and PVC heat transfer films, for example, may not behave identically even when they look similar.
A good cut should allow the unwanted vinyl to separate without excessive pulling or tearing. If small letters keep lifting or parts of the design remain attached, check the blade condition and cutting depth before making large changes to the pressure.
It is also worth keeping cutting and heat pressing separate. A design that cuts perfectly still needs the correct temperature, pressing time and pressure when applied to a garment. Always follow the film manufacturer’s transfer instructions.
Speciality HTV: Glitter and Flock
Glitter and flock heat transfer vinyl offer a different finish from ordinary smooth film. They are popular for clothing and personalised products where a textured or more decorative appearance is wanted.
Glitter HTV has a textured surface containing decorative particles, while flock HTV has a raised, fibre-like finish. Both are generally thicker than standard HTV, although their actual construction varies.
This added thickness can require a greater blade exposure and higher cutting pressure. Reducing the cutting speed can also help when working with more demanding cutting paths.
However, applying too much pressure is not the answer. The carrier sheet still needs to remain intact, and excessive force can damage it or make the material harder to weed.
Small lettering deserves particular attention. Fine details that cut perfectly in standard HTV may become difficult to reproduce in glitter or flock material. Narrow gaps and tight corners are less forgiving, so slightly larger lettering and simpler shapes often produce better results.
A test cut is particularly useful when working with these materials, as it helps establish whether the blade can separate the film cleanly without damaging the carrier.
Reflective Vinyl
Reflective vinyl is used where visibility is important, including safety signage, vehicle graphics, workwear and outdoor displays.
Unlike standard adhesive vinyl, reflective material may contain glass beads or microprismatic structures designed to reflect light. These additional layers can make it thicker and more demanding to cut.
The correct cutting approach depends on the type of reflective vinyl being used. Some products can be handled with a suitable standard blade, while thicker or more specialised materials may require a different cutting angle.
A 60-degree blade is sometimes used for thicker materials, but this is not a universal requirement. The manufacturer’s recommendations and the actual construction of the vinyl are better guides than choosing a blade based on its angle alone.
Cutting pressure may need to be higher than for standard vinyl, while a slower speed can help maintain control around corners and detailed shapes. Some thicker products may also require multiple passes, provided the material remains securely positioned.
Small lettering and intricate designs can be less forgiving with reflective media. Before starting a large sign or batch of safety labels, check the cutting quality on a small sample. It is much easier to make adjustments at this stage than to discover a problem halfway through production.
Which Cutter Plotter Settings Should You Adjust?
Understanding the differences between materials is one part of the job. Knowing which machine settings to change is just as important.
Most cutter plotters allow users to adjust several key parameters. Each controls a different aspect of the cutting process, so it helps to understand their individual roles rather than changing everything at once.
Blade Depth
Blade depth refers to how far the blade tip extends beyond the blade holder.
Too much exposure can cause the blade to cut deeper than necessary, damaging the backing layer. Too little, and it may struggle to separate the material properly.
Only enough of the blade tip should be exposed to cut through the intended layers. Increasing cutting pressure is not a reliable way to compensate for incorrect blade depth.
Cutting Pressure
Cutting pressure controls the force applied by the blade as it moves through the material.
Thin adhesive vinyl generally requires less pressure than thicker speciality HTV or reflective film. Too little pressure results in incomplete cuts, while too much can damage the backing or affect fine details.
If a design does not cut properly, check the blade depth and condition first. Once these are correct, increase the pressure gradually until the material separates cleanly.
Cutting Speed
Cutting speed determines how quickly the blade travels along the cutting path.
Simple shapes and larger lettering can usually be cut at a reasonable speed. Small text, intricate designs and thicker materials often benefit from slower settings, as the machine has more time to follow detailed paths accurately.
The slowest setting is not necessarily the best. Flexible materials can sometimes drag or deform if the speed is poorly matched to the machine and material. The aim is to find a balance between clean cutting and efficient production.
Cutting Passes
Some thicker materials may require more than one cutting pass to achieve a clean result.
This can help with specialist films that are difficult to cut through in a single pass. However, multiple passes should not be used to compensate for incorrect blade depth or pressure.
If the material shifts slightly between passes, the second cut may not follow the original path accurately, leaving rough edges or doubled lines. Make sure the material is properly loaded and feeding smoothly before using this setting.
Always Test Cut Before Starting a Full Design
One of the easiest ways to avoid wasting material is to make a test cut whenever you switch to a different vinyl type or change your machine settings.
Most cutter plotters include a built-in test cut function, often producing a small square, circle or similar shape. This gives you a quick indication of whether the blade is cutting correctly.
Pay attention to how easily the cut sections separate. With adhesive vinyl and HTV, the backing or carrier sheet should remain intact. Corners should be clean, and small details should not lift or tear during weeding.
If the result is not quite right, make one adjustment at a time. For example, if the vinyl is not cutting deeply enough, check the blade exposure before increasing the pressure. If the cut is clean but small corners look untidy, try reducing the speed or checking the blade offset.
Making several changes together can make it difficult to identify the source of the problem. A small, controlled adjustment followed by another test cut is usually a more reliable approach.
Getting Consistent Results When Cutting Different Materials
If you regularly switch between adhesive vinyl, HTV and specialist films, keeping a record of your successful settings can save considerable time.
Note down the material brand and type, blade angle, blade exposure, cutting pressure, speed and number of passes. These records provide a useful starting point when working with the same material again, although small adjustments may still be needed between batches.
Blade condition is equally important. A worn or damaged blade can produce rough edges and incomplete cuts even when the settings are correct. If a machine suddenly struggles with a material it has handled well before, check the blade before assuming there is a problem with the cutter plotter.
With the right setup and a little testing, switching between different vinyl materials becomes much more straightforward.
Signzworld supplies cutter plotters, vinyl materials and heat transfer supplies for businesses and creators working across a range of applications. Choosing the right materials and matching your cutting settings to them is a simple way to achieve cleaner, more consistent results.


