Already crafted your own sublimation mugs, coasters, or keychains?
If so, congratulations — you’re officially a “mini expert” in the world of sublimation blanks. But if you’re ready to take your skills to the next level, it’s time to meet another essential player in the heat transfer industry: the Cutter Plotter.
If you haven’t used one before, don’t worry. Signzworld has put together a detailed guide to help you understand what it is, what it can do, and how to use it like a pro.
What is a Cutter Plotter?
A Cutter Plotter is a precision cutting machine that can accurately cut digital designs into various materials. It’s widely used in signage, heat transfer projects, sticker production, model making, and packaging.
The machine connects to your computer and receives vector design files (such as AI or SVG formats). Using a moving blade head, it follows the set paths in your design to cut the material’s surface with high accuracy.
What Can a Cutter Plotter Cut?
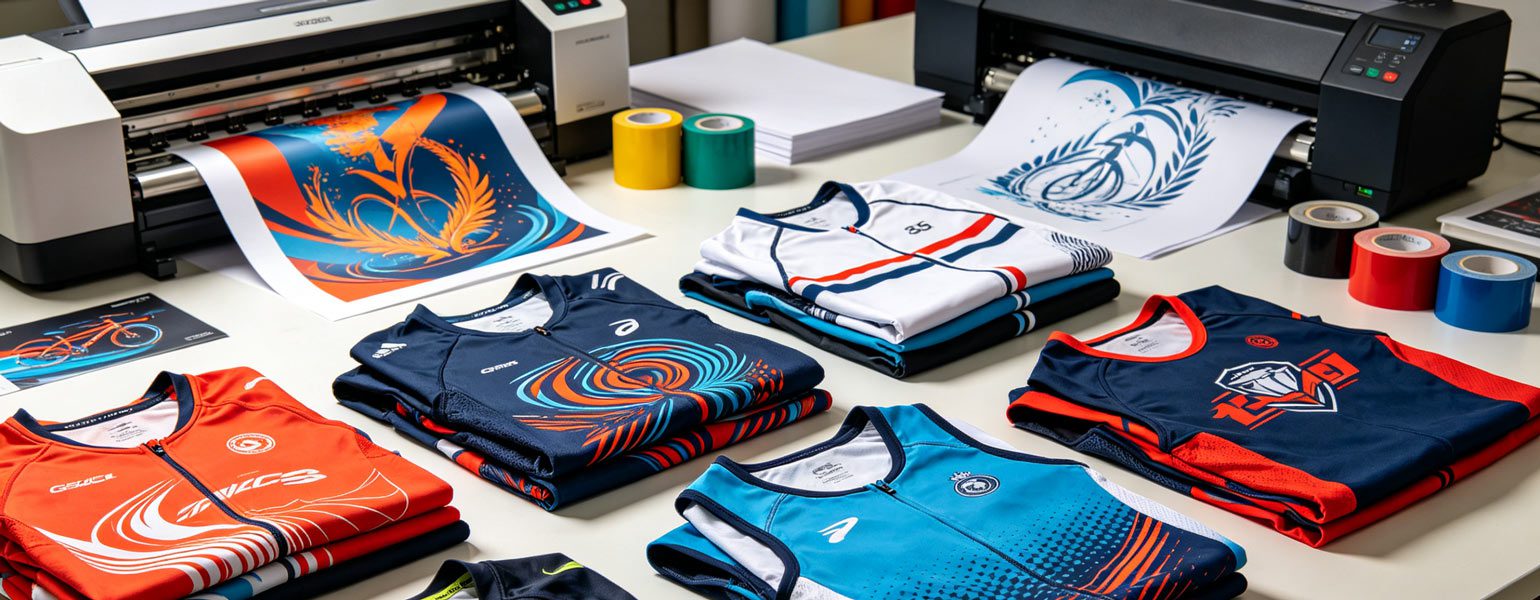
- Heat Transfer Vinyl (HTV): Perfect for T-shirts, sportswear, and other apparel decoration.
- Stickers & Labels: From business logos to car decals and product labels.
- Reflective Film: Ideal for road signs and nighttime safety markings.
- Wall Decals & Home Décor Stickers
- Cardboard & Cardstock: Great for packaging mock-ups and greeting cards.
- Stencil Sheets & Spray Painting Masks
How to Use a Cutter Plotter
- Design Your Artwork
Create your design using vector-based software such as CorelDRAW or Adobe Illustrator.
Remember: use paths/lines, not bitmap images, as the machine only follows vector paths. - Import into Cutting Software
Once your design is ready, import it into your Cutter Plotter’s software.
Adjust the cutting size, orientation, blade pressure, and speed settings. - Load Your Material
Place your HTV, sticker sheet, or other material on the machine’s feed track.
Adjust pinch rollers to ensure smooth and accurate feeding. - Set Blade Pressure & Speed
- Thin films: 80–120g blade pressure
- Thick materials: 200g+ blade pressure
- For intricate designs: use slower speeds for better precision
- Start Cutting
Send the job to the Cutter Plotter. The blade will follow the path of your design automatically. - Weeding
Remove the excess material, keeping only the parts you want to apply. - Heat Press or Apply
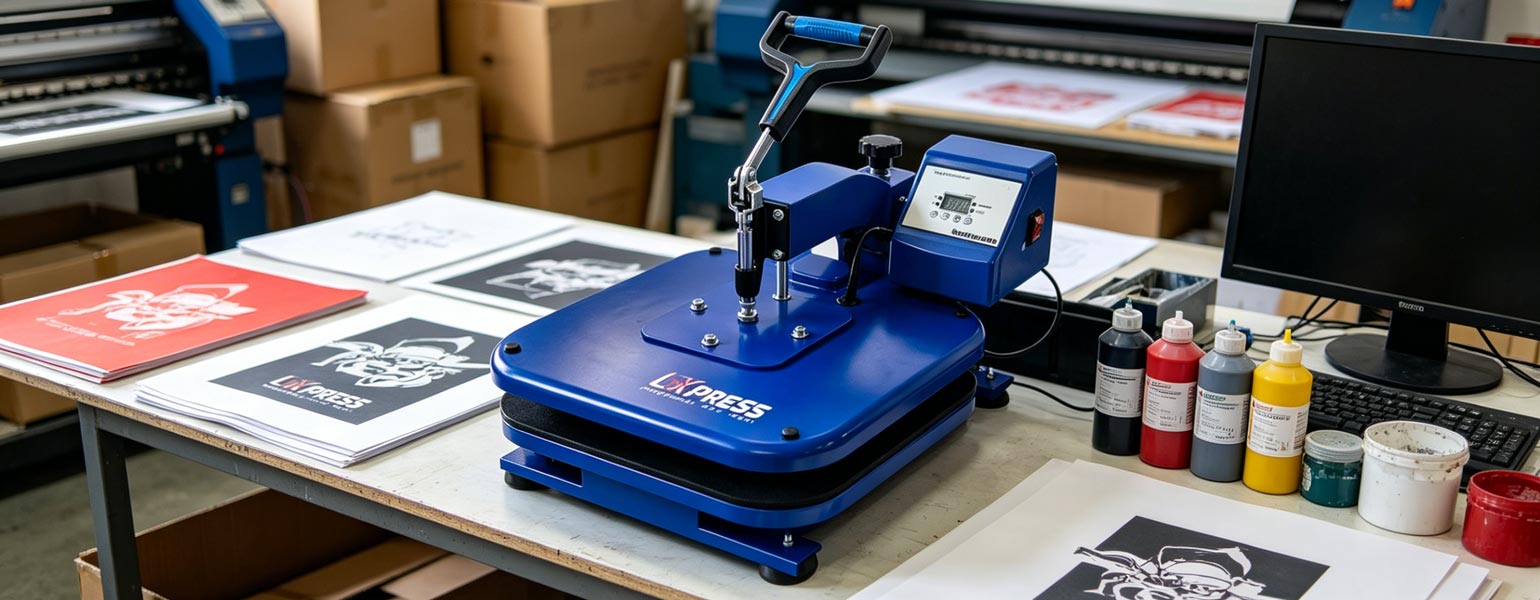
- For HTV: use a heat press to transfer the design onto fabric.
- For stickers: apply directly to your chosen surface.
Signzworld’s Pro Tips
- Test First: Use scrap material to test blade pressure and avoid cutting through the backing sheet.
- Keep Blades Sharp: Dull blades reduce cutting accuracy.
- Use Kiss-Cut for Stickers: Only cut the top layer of material, not the backing.
- Prevent Skewing: For long designs, run a feed test before cutting to ensure the material tracks straight.
With a Cutter Plotter in your creative toolkit, you’ll unlock endless customization possibilities — from personalized T-shirts to professional signage. Once you try it, you’ll wonder how you ever managed without one.