Spend a few minutes searching for sublimation settings, and you’ll soon notice something strange.
The same numbers keep appearing: 200°C for 60 seconds.
You’ll see them recommended for mugs, mentioned in tutorials and repeated in sublimation discussions as though they were a standard that applies to the process as a whole. For someone just starting, it is perfectly understandable to assume that sublimation has a basic formula: set the heat press to 200°C, run it for a minute and expect a good transfer.
Then the first few blanks don’t cooperate.
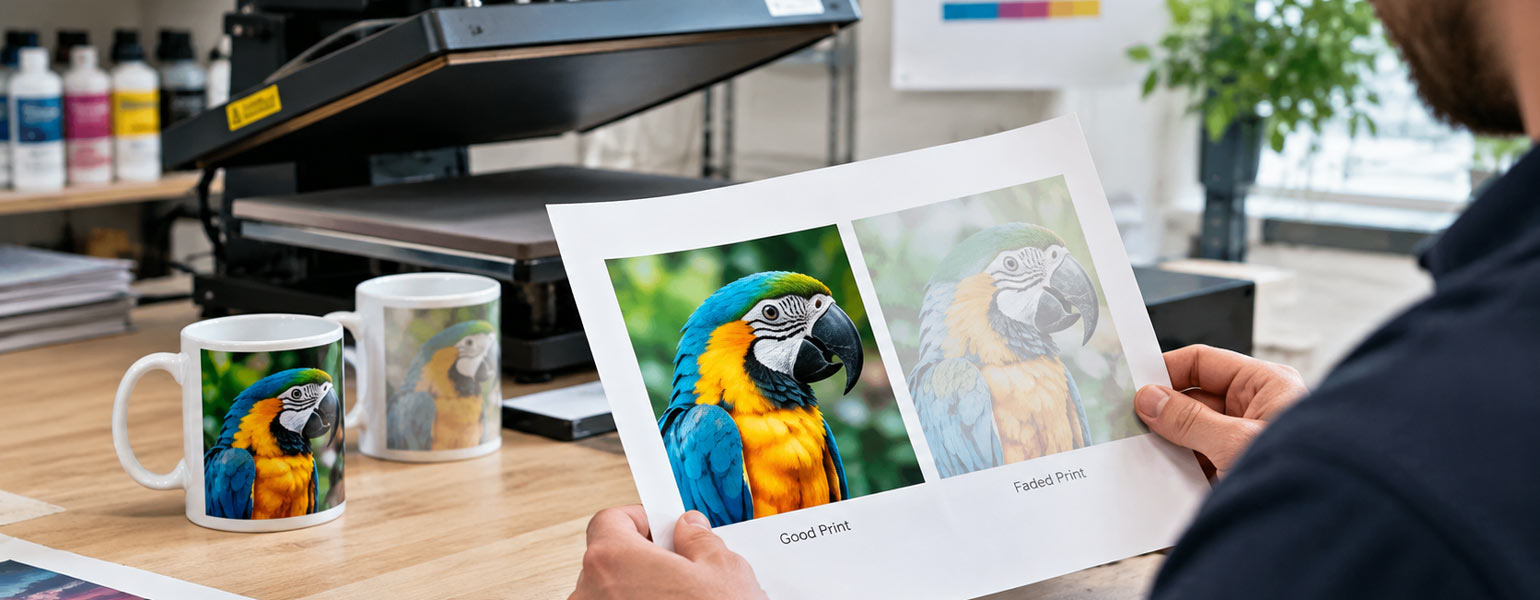
The mug looks a little pale. The next one is better. A polyester shirt seems to transfer much more quickly. An aluminium panel behaves differently again. A tumbler gives you a slightly uneven result around one section of the design.
At that point, many new printers start changing everything at once. More heat, more time, more pressure.
That usually makes troubleshooting harder rather than easier.
The underlying problem is that 200°C for 60 seconds was never a universal sublimation setting. It is simply a combination of temperature and time that can work well for certain applications.
The reason is quite straightforward: different substrates do not heat in the same way.
The Number on the Heat Press Doesn’t Tell the Whole Story
There is an important distinction that gets lost when sublimation settings are reduced to a simple temperature-and-time chart.
The temperature shown on the heat press is not necessarily the temperature of the substrate.
If the display reads 200°C, the platen is being heated towards that target. Your blank, however, may have started at 15°C, 18°C or 22°C. It needs to absorb heat before the sublimation coating reaches the conditions required for the transfer.
How quickly that happens depends on what you’re pressing.
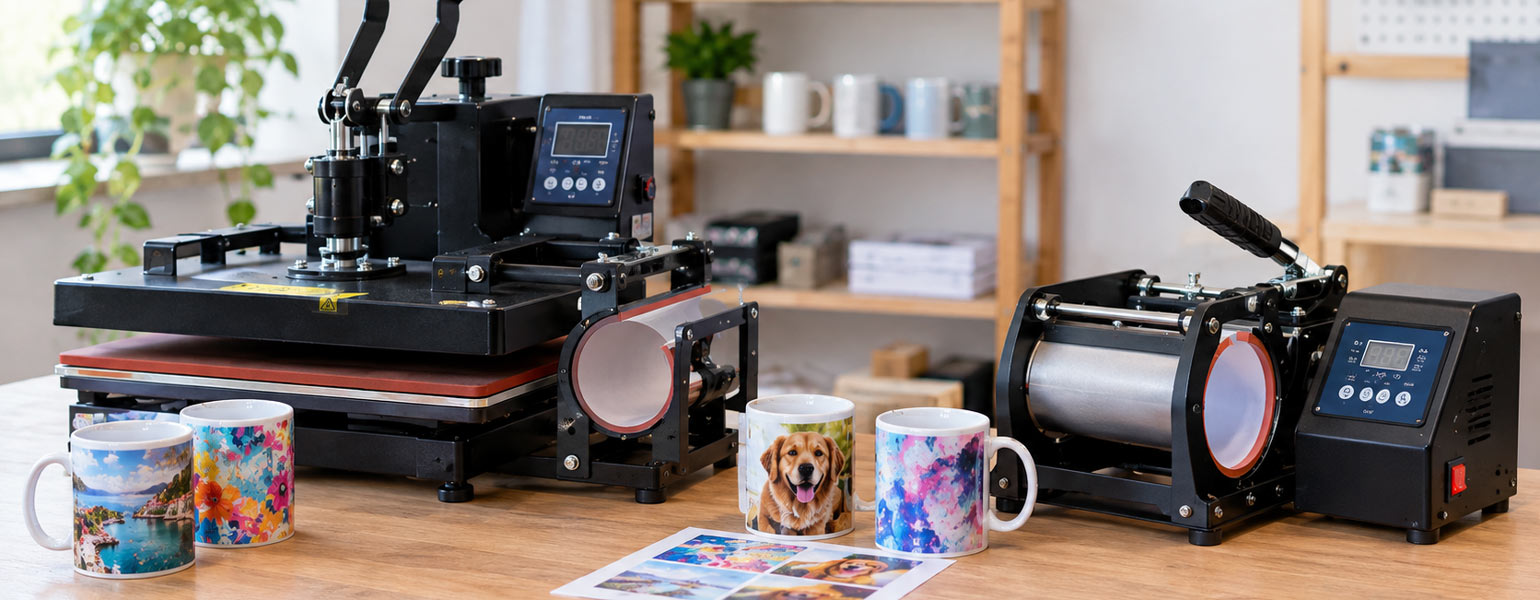
Consider what happens when you move through a typical day in a sublimation workshop. You might start with an 11oz ceramic mug. The mug has a relatively thick ceramic body, so the heat needs time to work its way through the material and into the coating. You then move to a polyester T-shirt. There is considerably less material to heat, and the fabric responds much more quickly. Later, you press a coated aluminium panel. Aluminium is an efficient conductor of heat, so the way heat spreads through that blank is different again.
By the time you get to a 20oz tumbler, you’ve introduced another set of variables. The surface is curved, the wall construction is different from a flat panel, and the heating method may have changed as well. A coated glass product brings another combination of material thickness, coating and heat transfer behaviour.
The press can still be displaying 200°C throughout all of this.
That doesn’t mean the substrates are experiencing the same thermal conditions.
And that is the point that gets lost when a single setting is presented as though it applies to everything.
Take a Mug and a T-Shirt as an Example
The difference becomes much clearer if you put two very different blanks side by side.
An 11oz ceramic mug has substantial thermal mass. If the blank has been stored somewhere cool, the press first has to bring that ceramic up towards the working temperature. The coating on the outside doesn’t instantly become 200°C simply because the platen is already there.
A polyester T-shirt has almost none of the same thermal behaviour. The fabric is thin, so there is far less material absorbing heat before the transfer takes place.
Using the same temperature and time on both products therefore doesn’t make much sense simply because they are both used for sublimation.
This is also why the results can be misleading when you’re new to the process. You might get a good mug transfer at 200°C for 60 seconds and assume you’ve discovered the correct sublimation setting.
Then you try a garment and get a completely different result.
Nothing mysterious has happened. The materials are simply responding to heat differently.
Aluminium Changes the Picture Again
Aluminium is a useful example because its thermal conductivity is much higher than that of many other materials used for sublimation.
A coated aluminium panel can distribute heat quickly, but that doesn’t mean every aluminium blank can be pressed using the same combination of temperature and time.
A thin photo panel and a thicker sign blank have different amounts of material to heat. The coating also matters because the sublimation process is taking place at that coated surface rather than in the aluminium itself.
If the panel reaches the required conditions quickly, keeping it under a hot platen for substantially longer isn’t necessarily going to improve the transfer. At some point, additional heat stops being helpful and can begin creating other problems.
This is where blindly following a number becomes particularly risky.
Tumblers Show Why the Shape Matters
A tumbler adds another complication that a flat temperature chart doesn’t really account for.
The surface is curved, which means the way the transfer paper sits against the coating matters. Depending on the equipment, the pressure and heat may not be distributed exactly the same way across every part of the design.
Imagine getting a clean transfer through most of the artwork but finding one section that looks noticeably lighter.
The obvious reaction might be to increase the temperature.
But if the real issue is inconsistent contact or pressure around the curved surface, more heat isn’t going to solve it.
The same temperature can therefore produce different results on different parts of the same product.
That is a useful reminder that sublimation isn’t just about how hot the press gets. Heat, time, pressure, contact and the physical construction of the blank all work together.
Coated Glass Has Its Own Heating Behaviour
Coated glass makes the same point from a different angle.
The sublimation coating may be designed specifically for the process, but underneath it is a material with its own thermal properties. A thin coated glass panel will not necessarily heat in the same way as a thicker product.
Again, the press may read 200°C.
The glass doesn’t care what the display says. It responds according to its own physical characteristics.
This is why experienced printers often find that moving from one type of blank to another involves a little testing, even when both products come with apparently similar recommended settings.
Why More Temperature Isn’t Always the Answer
Once you understand the difference between press temperature and substrate temperature, another common mistake becomes easier to spot.
A pale transfer doesn’t automatically mean the press needs to be hotter.
Perhaps the blank hasn’t received enough heat. But perhaps the paper isn’t transferring properly. Maybe the pressure is inconsistent. The coating could behave differently from the previous batch. The press itself might not be heating evenly.
The same applies when a transfer is too dark, colours shift, or fine details begin to disappear. Adding more time because the colour doesn’t look right can easily push the process in the wrong direction.
Sublimation isn’t a case of more heat equals better transfer.
There is a useful working window for each substrate, and the goal is to find it without pushing the material beyond what it can handle.
A Better Way to Develop Sublimation Settings
Instead of asking for the correct sublimation setting, start by asking what the particular blank needs.
If you’ve got a new batch of coated aluminium and the supplier’s suggested starting point is 200°C for 60 seconds, there is no reason to treat that number as the final answer.
Run a few controlled tests.
For example:
| Test | Temperature | Time | Pressure |
| A | 190°C | 60 sec | Medium |
| B | 200°C | 60 sec | Medium |
| C | 200°C | 70 sec | Medium |
| D | 210°C | 60 sec | Medium |
The purpose isn’t to find which number looks best in isolation. You want to see how the blank responds when one variable changes.
If the 200°C / 60-second sample is slightly weak but the 200°C / 70-second sample improves without introducing colour shifts, you’ve learned something useful about that particular product.
If increasing the temperature makes little difference but changing the pressure does, you’ve learned something else.
That information is far more valuable than simply being told to “press at 200°C”.
Don’t Change Everything at Once
This is where a lot of wasted blanks come from.
Imagine you press a mug and the result is lighter than expected. You change the temperature from 200°C to 210°C, increase the time from 60 to 75 seconds and turn the pressure up at the same time.
The next mug looks better.
Great.
But you have no idea why.
If you later switch to another mug blank and get a poor result, you have to start the guessing game again.
A much better approach is to change one variable while keeping the others stable. It may take an extra couple of test blanks, but you’ll build a much clearer picture of what is actually happening.
This is especially important when you’re trying to establish settings for regular production rather than making a single item at home.
Keep Your Own Test Records
A simple record of successful settings can save a surprising amount of time.
For each blank, keep the product type, temperature, time, pressure, paper and ink combination, along with a note about the result.
It is worth recording the supplier and blank model too, particularly if you use several sources for similar products.
Over time, this becomes your own working reference.
You might find that one mug consistently produces the best results around one particular range, while another requires a slightly different approach. A certain tumbler may need more attention to pressure rather than temperature. An aluminium panel may respond better to a shorter dwell time.
None of those observations needs to become universal rules.
They simply become reliable information about the products you actually use.
There Isn’t One Perfect Sublimation Setting
The attraction of 200°C for 60 seconds is that it makes sublimation sound wonderfully straightforward.
Unfortunately, the physical process doesn’t work from a universal recipe.
A ceramic mug needs to absorb heat through a substantial body. Polyester fabric responds much more quickly. Aluminium conducts heat efficiently. A tumbler introduces curvature and different pressure conditions. Coated glass brings another combination of material thickness and thermal behaviour.
The heat press can display exactly the same temperature in every case, while the substrate experiences something quite different.
That is why the most reliable approach is to stop looking for a single number that works everywhere.
Start with a sensible setting, test the actual blank, pay attention to the result and make controlled adjustments when necessary. Once you find a combination that produces consistent results, record it and use it as your working setting for that particular product.
The extra testing isn’t wasted time. It is how you move from simply following sublimation instructions to actually understanding your process.
At Signzworld, we supply sublimation blanks, heat press machines, sublimation paper and other equipment for a range of applications. Whether you’re pressing mugs, garments, tumblers, aluminium panels or other coated products, having the right materials is only part of getting consistent results.
200°C for 60 seconds can be a useful starting point. It was never a universal rule.