


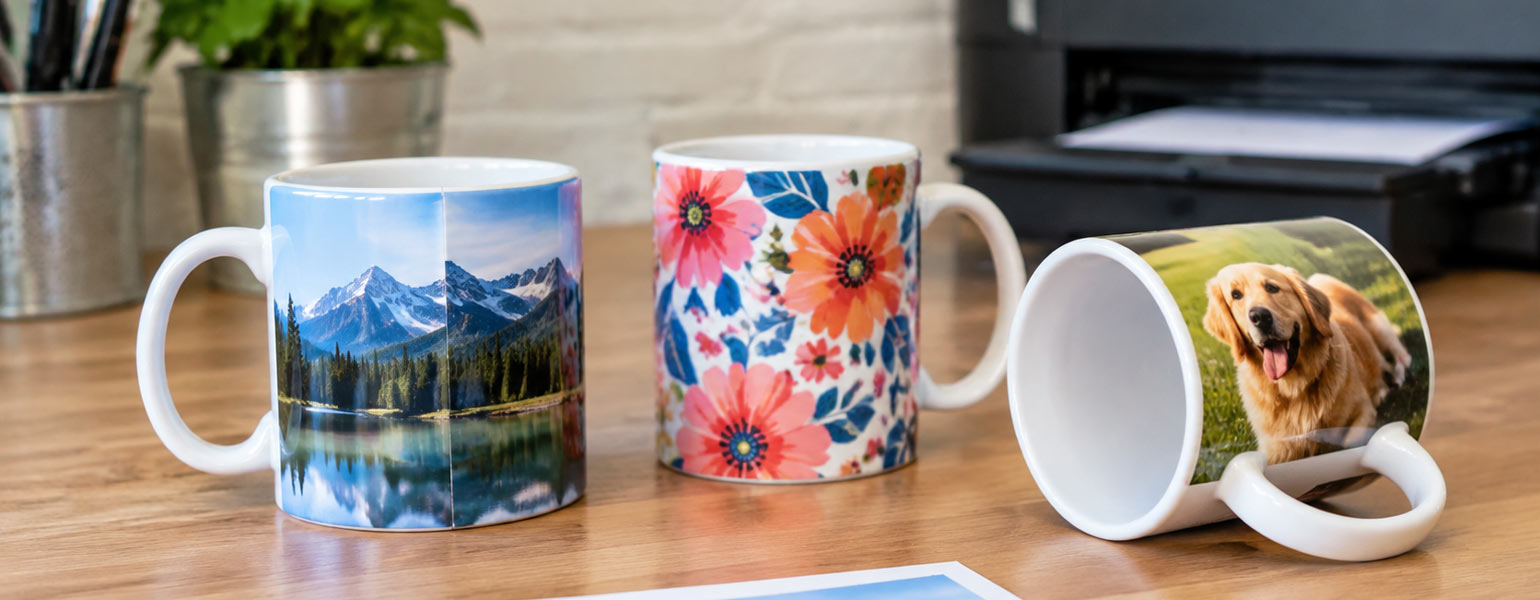
Have you ever printed a full-wrap design on a sublimation mug and found the result wasn’t quite what you expected? Perhaps the image looked great on screen, but the finished mug had an awkward gap, a visible join or text that didn’t quite line up.
If you’re used to standard mug sublimation, full-wrap printing can take a little getting used to. The basic process is the same, but covering almost the entire mug leaves less room for small mistakes.
The good news is that most of these problems have a clear cause. They usually come down to the design layout, measurements or how the transfer is applied. Once you know what to look for, they’re much easier to avoid.
Full-Wrap vs Standard Mug Designs
A standard mug design usually covers a smaller area on one or both sides, leaving space around the artwork. A full-wrap design extends around almost the entire circumference, creating a continuous look.
This gives you more room for panoramic images, photo collages and repeating patterns. However, it also means that small errors in sizing or positioning can become much more noticeable.
Common Full-Wrap Mug Printing Problems
1. The Join Between the Two Ends Doesn’t Look Natural
This is one of the most noticeable problems with full-wrap mug printing.
When a design wraps around the mug, the left and right edges need to meet naturally. If they don’t, you’ll see an obvious break where the pattern should continue.
It’s particularly noticeable with floral patterns, geometric shapes and illustrated backgrounds. A flower might suddenly stop at one edge and reappear in the wrong position on the other side.
Why does it happen?
The original artwork may not have been designed for seamless printing. Differences in colour, pattern or background details can make the join look awkward.
An incorrectly sized design can cause the same problem, leaving a gap or creating an unwanted overlap when transferred.
How to avoid it:
Check both edges of the artwork before printing. For repeating patterns, use a seamless design where possible. With panoramic images, make sure the transition between the two ends looks natural. Always match the design width to the mug’s printable circumference.
2. Text and Images Appear in the Wrong Position
A design can look perfectly balanced on screen, yet the finished mug tells a different story.
Perhaps a name sits too close to the handle, a photograph appears off-centre, or an important part of an illustration ends up around the back of the mug.
This can be especially frustrating with personalised mugs, where names, messages and photographs need to be clearly visible.
Why does it happen?
The flat design doesn’t always account for how the mug will look when held or viewed from different angles. If the handle position isn’t considered, important details can end up in awkward places.
How to avoid it:
Plan the layout around the finished mug rather than just the flat template. Keep names, faces and important details within the main viewing area, away from the handle and printable edges. A simple paper mock-up can help you check the placement before printing.
3. Uneven White Space Around the Sides
Sometimes the artwork itself looks fine, but the finished mug still feels unbalanced.
You might notice a large blank area on one side, while the other is filled with colour and detail. Alternatively, a narrow white strip may appear where the design doesn’t quite reach the edge of the printable area.
Why does it happen?
This is often a sizing or layout issue. Using a template with different dimensions from your actual mug can leave unexpected gaps. Positioning the artwork too far to one side can have a similar effect.
How to avoid it:
Check the printable width and height of your mug before preparing the artwork. Make sure the background extends far enough to cover the intended area, but don’t stretch the main image simply to fill the space. If necessary, extend the background separately to maintain the original proportions.
4. Images Look Curved, Stretched or Distorted
A photograph or illustration can look perfectly normal on a flat template but appear stretched or distorted once transferred onto a mug.
Faces are particularly unforgiving. Even a small change in proportion can make a photograph look unnatural.
Why does it happen?
There are two common reasons. First, a flat image has to follow the curved surface of the mug, so the visual effect changes once it’s wrapped around the cup. Secondly, resizing an image without maintaining its original proportions can make people and objects look wider or narrower than intended.
How to avoid it:
Maintain the original aspect ratio when resizing photographs and illustrations. Use a template designed for your particular mug, and check how the main subjects will look once the design wraps around the curved surface.
5. The Print Doesn’t Line Up Properly Around the Mug
Even with a well-prepared design, the final print can still look uneven.
One end may sit slightly higher than the other, or the pattern may appear to slope around the mug rather than running straight.
Unlike the previous problems, this is often caused by the transfer process rather than the artwork itself.
Why does it happen?
The transfer paper may have been positioned unevenly or shifted during pressing. Uneven contact between the transfer paper and the mug can also affect the consistency of the result.
How to avoid it:
Position the transfer paper carefully, making sure it’s straight and securely held with suitable heat-resistant tape. Check that the mug sits correctly in the heating element and follow the recommended temperature, time and pressure settings for your mug and press.
A Good Full-Wrap Print Starts Before You Switch on the Mug Press
It’s worth remembering that not every printing problem can be fixed at the pressing stage.
If the artwork has been measured incorrectly, important details are too close to the edges or the two ends don’t join properly, adjusting the temperature won’t solve those issues. Equally, a well-prepared design can still produce disappointing results if the transfer paper moves during pressing.
The best approach is to check the artwork, confirm the mug dimensions and take care when positioning the transfer paper. A few extra minutes of preparation can save wasted mugs, ink and transfer paper.
Getting Better Results from Full-Wrap Mug Sublimation
Full-wrap mug printing offers a more complete visual experience than a standard design. It gives you room for larger photographs, continuous patterns and detailed illustrations that make use of almost the entire mug.
However, that extra coverage also leaves less room for mistakes. Design joins, image proportions, positioning and transfer alignment all deserve attention.
At Signzworld, we supply a range of sublimation mugs, mug presses and printing supplies for businesses and creators producing personalised products. Whether you’re working with standard mug designs or experimenting with full-wrap printing, good preparation is always the key to a better result.


