


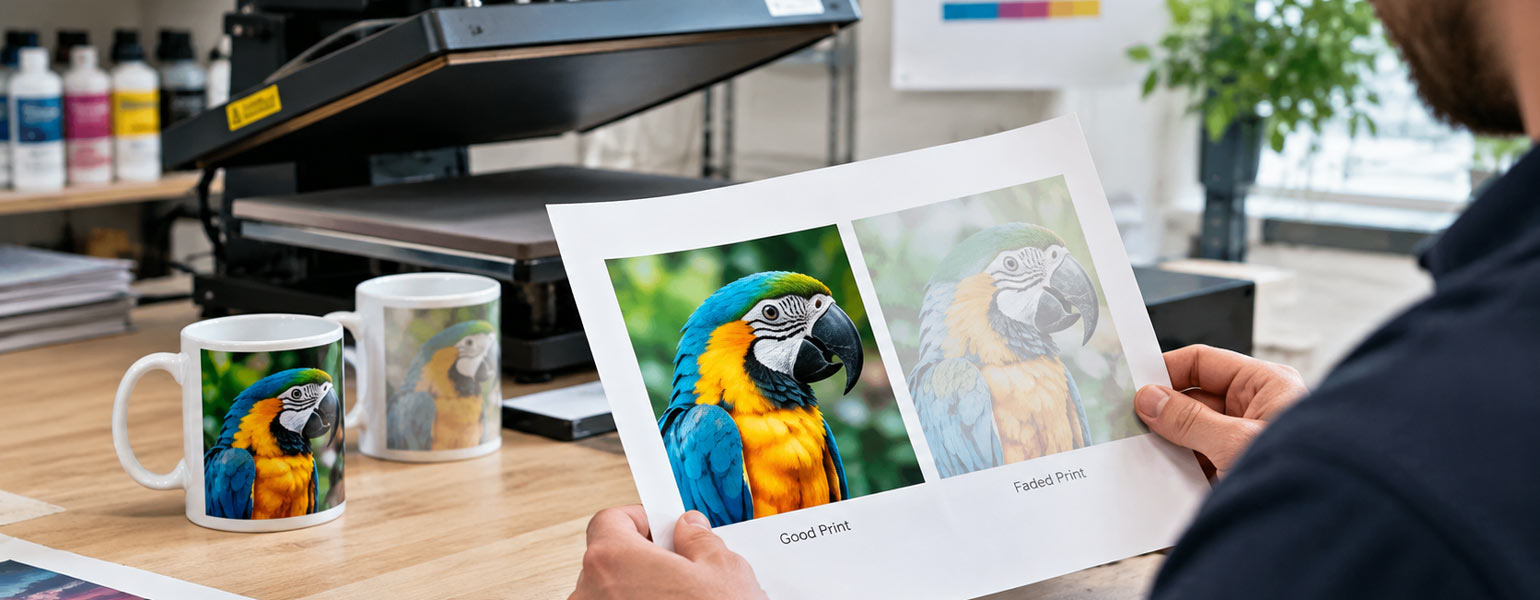
You open the heat press, lift the transfer paper and immediately notice something is wrong. The colours look washed out, the image lacks contrast, or one side of the design is noticeably paler than the other.
What do you do next? Search printing forums for similar problems, ask someone more experienced, or start adjusting the temperature and pressing time until the result improves?
There is a better way to approach it.
An experienced sublimation printer does not immediately change the settings. First, they look at the fault pattern. Are all the colours faded, or only certain shades? Is the problem limited to one side of the product, one batch of mugs or a particular type of paper?
These clues help narrow down the cause before you waste ink, blanks and production time. Here is how to work through the problem systematically.
Step 1: Is Every Colour Faded?
If the whole image looks washed out, start by checking ink delivery and the heat transfer process.
When reds, blues, blacks and other colours all look weaker than expected, the problem may lie in the overall transfer rather than a single ink channel.
Sublimation requires the right combination of heat, time and contact for the dye to transfer effectively to the coated blank. If the actual temperature is too low or the pressing time is insufficient, the result may lack colour depth.
Start with the manufacturer’s recommended settings for the specific product. Do not rely entirely on the temperature displayed by the press, as the actual working temperature may differ.
Next, inspect the original print. If the colours already look weak or the print shows missing lines, run a nozzle check and examine the ink supply. Incorrect print settings or a partially blocked printhead can produce a poor transfer even when the heat press is working correctly.
If the paper looks good but the finished product is faded, concentrate on the pressing process and verify that the blank receives consistent heat and contact.
Step 2: Are Only Certain Colours Faded?
When specific colours look weak or incorrect, check the ink channels and colour management.
Perhaps the red looks fine, but the blue is dull. Or the image has developed an unexpected green or purple tint. This pattern suggests a different problem from uniform fading.
Start with a printer nozzle check. Missing segments may indicate a blocked printhead or an ink delivery issue affecting a particular channel. If the nozzle check is clean, consider whether the ink supply, printer settings or colour-management configuration has changed recently.
The ICC profile is particularly important here. It helps translate the colours in your artwork into the appropriate ink output for a particular printer, ink and paper combination.
If you have changed your sublimation ink or paper but continued using the old profile, colour accuracy may suffer. Check that the correct profile is selected and that colour correction is not being applied twice by both your design software and printer driver.
A known colour chart can help you identify whether the same shades are consistently affected. Changing the pressing temperature will not reliably correct a faulty ink channel or an unsuitable ICC profile.
Step 3: Is One Side Faded?
If one side of the image looks good while the other is pale, investigate uneven pressure and heat distribution.
Imagine pressing a design onto a flat panel. The left side is vibrant, but the right side looks washed out. If this pattern appears repeatedly, the problem may be related to the press rather than the artwork.
Check that the product sits flat and that nothing is interfering with contact. A worn pressing pad, an uneven surface or incorrect positioning can prevent consistent transfer across the design.
For mugs, make sure the heating element fits the product properly. For flat items, check the condition of the pressing pad and whether the blank is positioned correctly.
Temperature consistency also matters. A press may display the correct setting while having cooler areas across the platen. If the same side repeatedly produces weaker results, check the working temperature using a suitable measuring method.
Do not simply increase the pressure. Too much pressure can damage certain blanks or leave unwanted marks. The aim is consistent contact and heat, not maximum force.
Step 4: Is It Only One Batch of Mugs?
If one batch produces faded prints while another performs normally, check the blanks before changing your printer settings.
This is a common source of frustration. The printer works as usual, the press settings have not changed, yet a new carton of mugs produces noticeably weaker colours.
Sublimation mugs rely on a suitable polymer coating to accept the dye. Differences in coating quality or consistency can affect the final image, even when the mugs look identical.
To investigate, compare a mug from the affected batch with one from a previously successful batch. Use the same artwork, ink, paper and verified pressing conditions.
If the older mug transfers well but the new one remains pale, the difference may lie in the blanks. Check whether they came from a different supplier or manufacturing batch, and record the details if the problem persists.
Do not assume the coating is automatically at fault. Differences in mug shape, heating-element fit and surface contamination can also affect the result. A controlled comparison will help you narrow it down.
Step 5: Does the Same Blank Print Differently on Different Days?
If results vary from day to day, investigate moisture, storage conditions and press stability.
You may be using the same mug, artwork, ink and nominal settings, yet getting different results on separate days. In this case, look for changes in the working environment or production process.
Sublimation paper can absorb moisture from the air, potentially affecting its handling and transfer performance. Paper left exposed in unsuitable conditions may behave differently from paper stored correctly.
Keep your paper in accordance with the manufacturer’s storage recommendations. If you suspect moisture is involved, compare properly stored paper with the stock that has been producing inconsistent results.
The heat press is another possibility. A press that has not fully warmed up may behave differently from one that has been running for some time. Temperature recovery between consecutive cycles can also affect consistency.
Record when the problem occurs. Does it happen with the first product after the press has been idle, or after several consecutive presses? This can help distinguish a potential temperature-recovery issue from problems with the materials.
If the fault continues, note the room conditions, press settings and product batch. A few simple records can reveal a pattern that is otherwise easy to miss.
Step 6: Does the Same Artwork Look Different on Different Paper?
If one sublimation paper produces weaker colours than another, check paper compatibility and the ICC profile combination.
Changing paper can affect the way ink is deposited, dried and released during pressing. A paper that works well with one set of print settings may produce different results when used with another.
This does not necessarily mean the new paper is poor quality. It may simply require a different configuration.
Check the recommended printer settings for the paper and ink you are using. Where an appropriate ICC profile is available, make sure it matches your printer and ink combination.
For a fair comparison, print the same colour chart or artwork on both papers and transfer it to comparable blanks from the same batch. Follow the recommended settings for each paper, then compare the results under similar lighting.
Look at the same colours and solid areas rather than relying on memory. If one paper consistently performs better with its recommended settings, you have a clearer indication that the difference lies in the paper and print configuration.
This is also why changing paper, ink and colour profiles all at once makes troubleshooting difficult. You may improve the result without discovering what caused the original problem.
A Practical Way to Diagnose Faded Sublimation Prints
When a sublimation print comes out faded, the pattern usually gives you the best starting point:
- Every colour is faded: Check ink delivery, pressing conditions and overall heat transfer.
- Only certain colours are affected: Inspect ink channels and ICC profile settings.
- One side is faded: Investigate pressure, contact and temperature consistency.
- Only one batch of mugs is affected: Compare the blanks and their coating performance.
- Results vary from day to day: Check moisture, storage and press stability.
- Different papers produce different results: Review paper compatibility and colour management.
The most reliable approach is to change one variable at a time and compare the result with a known-good print. This helps you identify the actual cause instead of wasting materials on trial and error.
At Signzworld, we supply sublimation printing equipment, heat presses, transfer paper and related consumables for UK printers. Using compatible materials and maintaining a consistent process will help you achieve more reliable, vibrant transfers.


